Importing & exporting
Written By Timothy Murenzi
Bring tasks in from elsewhere, or export a polished PDF of the plan to print or send.
Import tasks
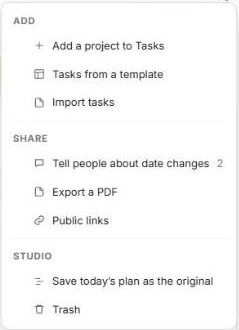
Open Tasks and click ⋯ → Import tasks.
Choose your file and follow the prompts to map it to a project.
To start a project from your standard plan instead, use ⋯ → Tasks from a template. See Creating Task Templates.
Export a PDF
Click ⋯ → Export a PDF.
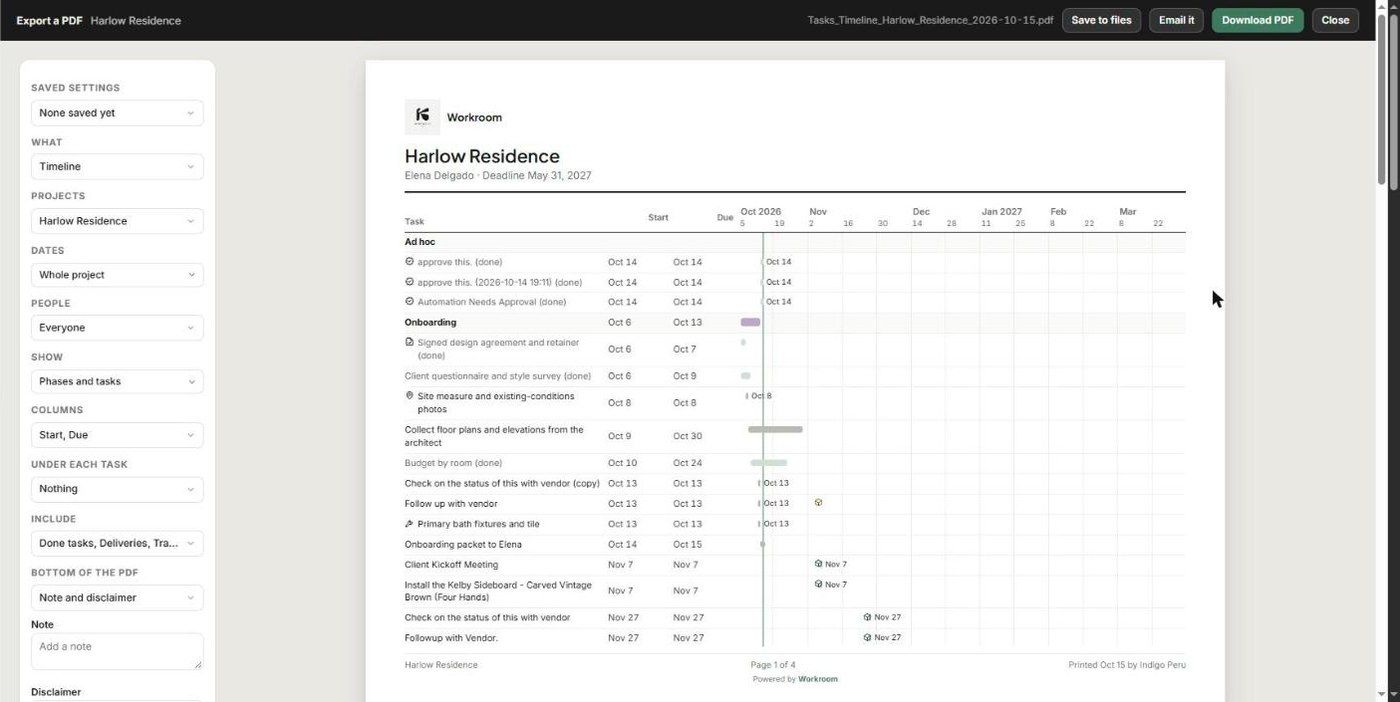
Set the options on the left:
Saved settings
What — e.g. Timeline
Projects
Dates — e.g. Whole project
People
Show — e.g. Phases and tasks
Columns — e.g. Start, Due
Under each task
Include — done tasks, deliveries and more
Bottom of the PDF — note and disclaimer
Check the live preview. It carries your logo, project, client and deadline, and the page count.
Choose Download PDF, Save to files (to the project's documents) or Email it. Click Close when you're done.
Export or public link?
PDF — a fixed snapshot to print, attach or file.
Public link — a live view that stays current. See Sharing a public timeline link.
Was this helpful?
Still need help? Ask the team