How to import timelogs
How to import time entries from another system using a CSV file.
Written By Julia M.
Overview
Bulk-add time entries from a CSV — useful when moving from another tool or catching up a week of time.
Steps
Go to Timelogs and click Import CSV.
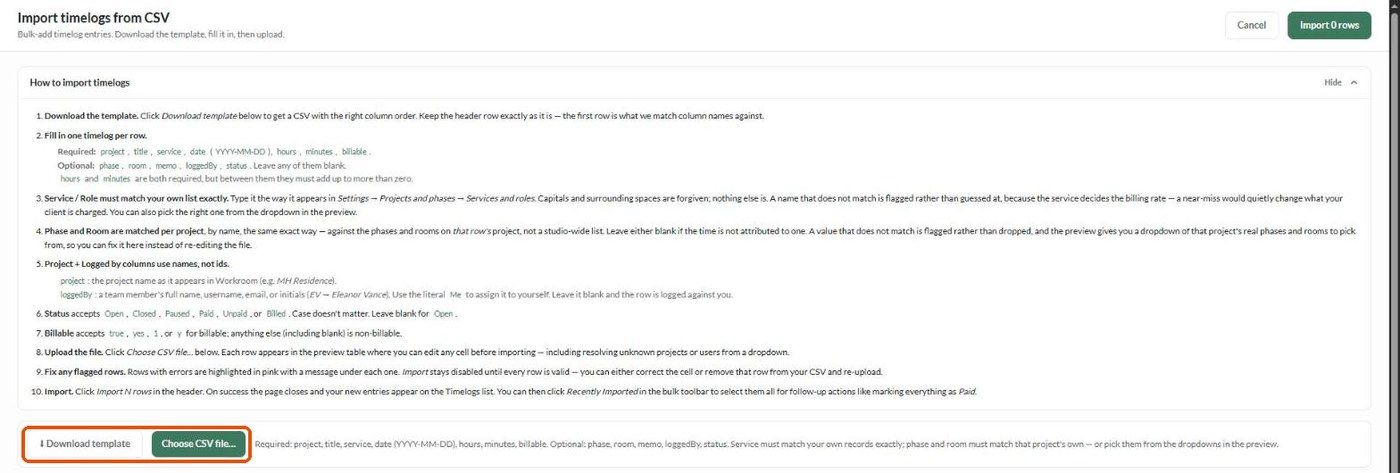
Read How to import timelogs on the page, then click Download template. Keep the header row exactly as it is.
Fill in one entry per row.
Click Choose CSV file…. Each row appears in a preview table where you can edit any cell.
Fix flagged rows (highlighted pink with a message). Import stays disabled until every row is valid.
Click Import N rows in the header.
Columns
What happens next?
The page closes and the entries appear on the Timelogs list. Select some entries and click Recently Imported in the bulk toolbar to select everything you just imported — handy for setting time already billed elsewhere to Billed or Paid.
Related articles
How to manage and filter your timelogs
Tracking Time
Was this helpful?
Still need help? Ask the team